How Immich helped me organize a decade worth of photography

With the current state of the internet changing rapidly, I've been putting some of my time and energy into reducing my reliance on other companies cloud services. As a photographer, one of the challenges I've had to solve is getting my pictures from my computer to my phone, and being able to search and tag them quickly while I'm out and about. I've had instances where I've been with friends or family and I wasn't able to show them specific pictures of mine that we were talking about as quickly as I'd like.
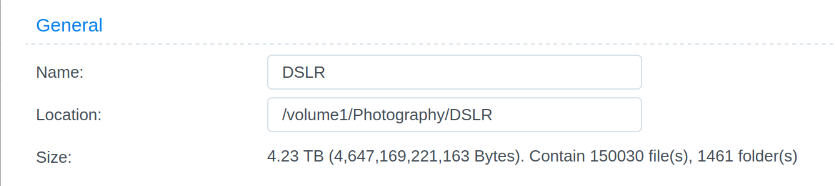
Oh and I have around 150,000 raw files to deal with.
Enter Immich.
In the past, I've used Flickr as a way to post my final JPG images publicly and then use their mobile app to access them to my phone. I've done the same with Smugmug with varying degrees of success. This could absolutely be an option for you if you don't have some sort of homelab or spare computer lying around, but as a nerd, I sure do. Generally speaking, Awesome, the parent company of Smugmug and Flickr have been good stewards of photography and digital archivism, but with my own personal goal to move as much as I can internally to my own hardware and software as possible, this is how I've replaced Flickr for everything but what I choose to share there publicly by using free and open source software Immich.
This guide is moderately technical, and requires a spare laptop or desktop computer to run an Ubuntu virtual machine on your home network. If you don't have one of those, this one might not be for you. Some basic networking understanding is a prerequisite as well.
Now for the technical background.
I have a home server running Proxmox, and an Ubuntu virtual machine there. Accompanying that on my network is a Synology NAS (192.168.3.10in this guide) that contains all my raw files, and the processed exported JPGs on it.
The secret sauce here is in how you store both the raw image files, and the exported JPG images. In general, I create a folder for each year (2020), and then a folder inside that with the date and some context about those photos as the folder name. For example on February 1st I took pictures of birds (2-1 birds).
Inside that folder is an "Exports" folder for the final images. It looks like this:
- Photography
  - DSLR
    - 2020
      - 2-1 birds
      	- /Exports
      		- image1.jpg
      		- image2.jpg
      		- image3.jpg
      	- image1.nef
      	- image2.nef
      	- image3.nef
      	- video.mp4

    - 2021
     	- 5-11 birds
       	 - /Exports
         	- image001.jpeg
     		- image002.jpeg
     		- image003.jpeg
     	 - image001.dng
     	 - image002.dng
     	 - image003.dng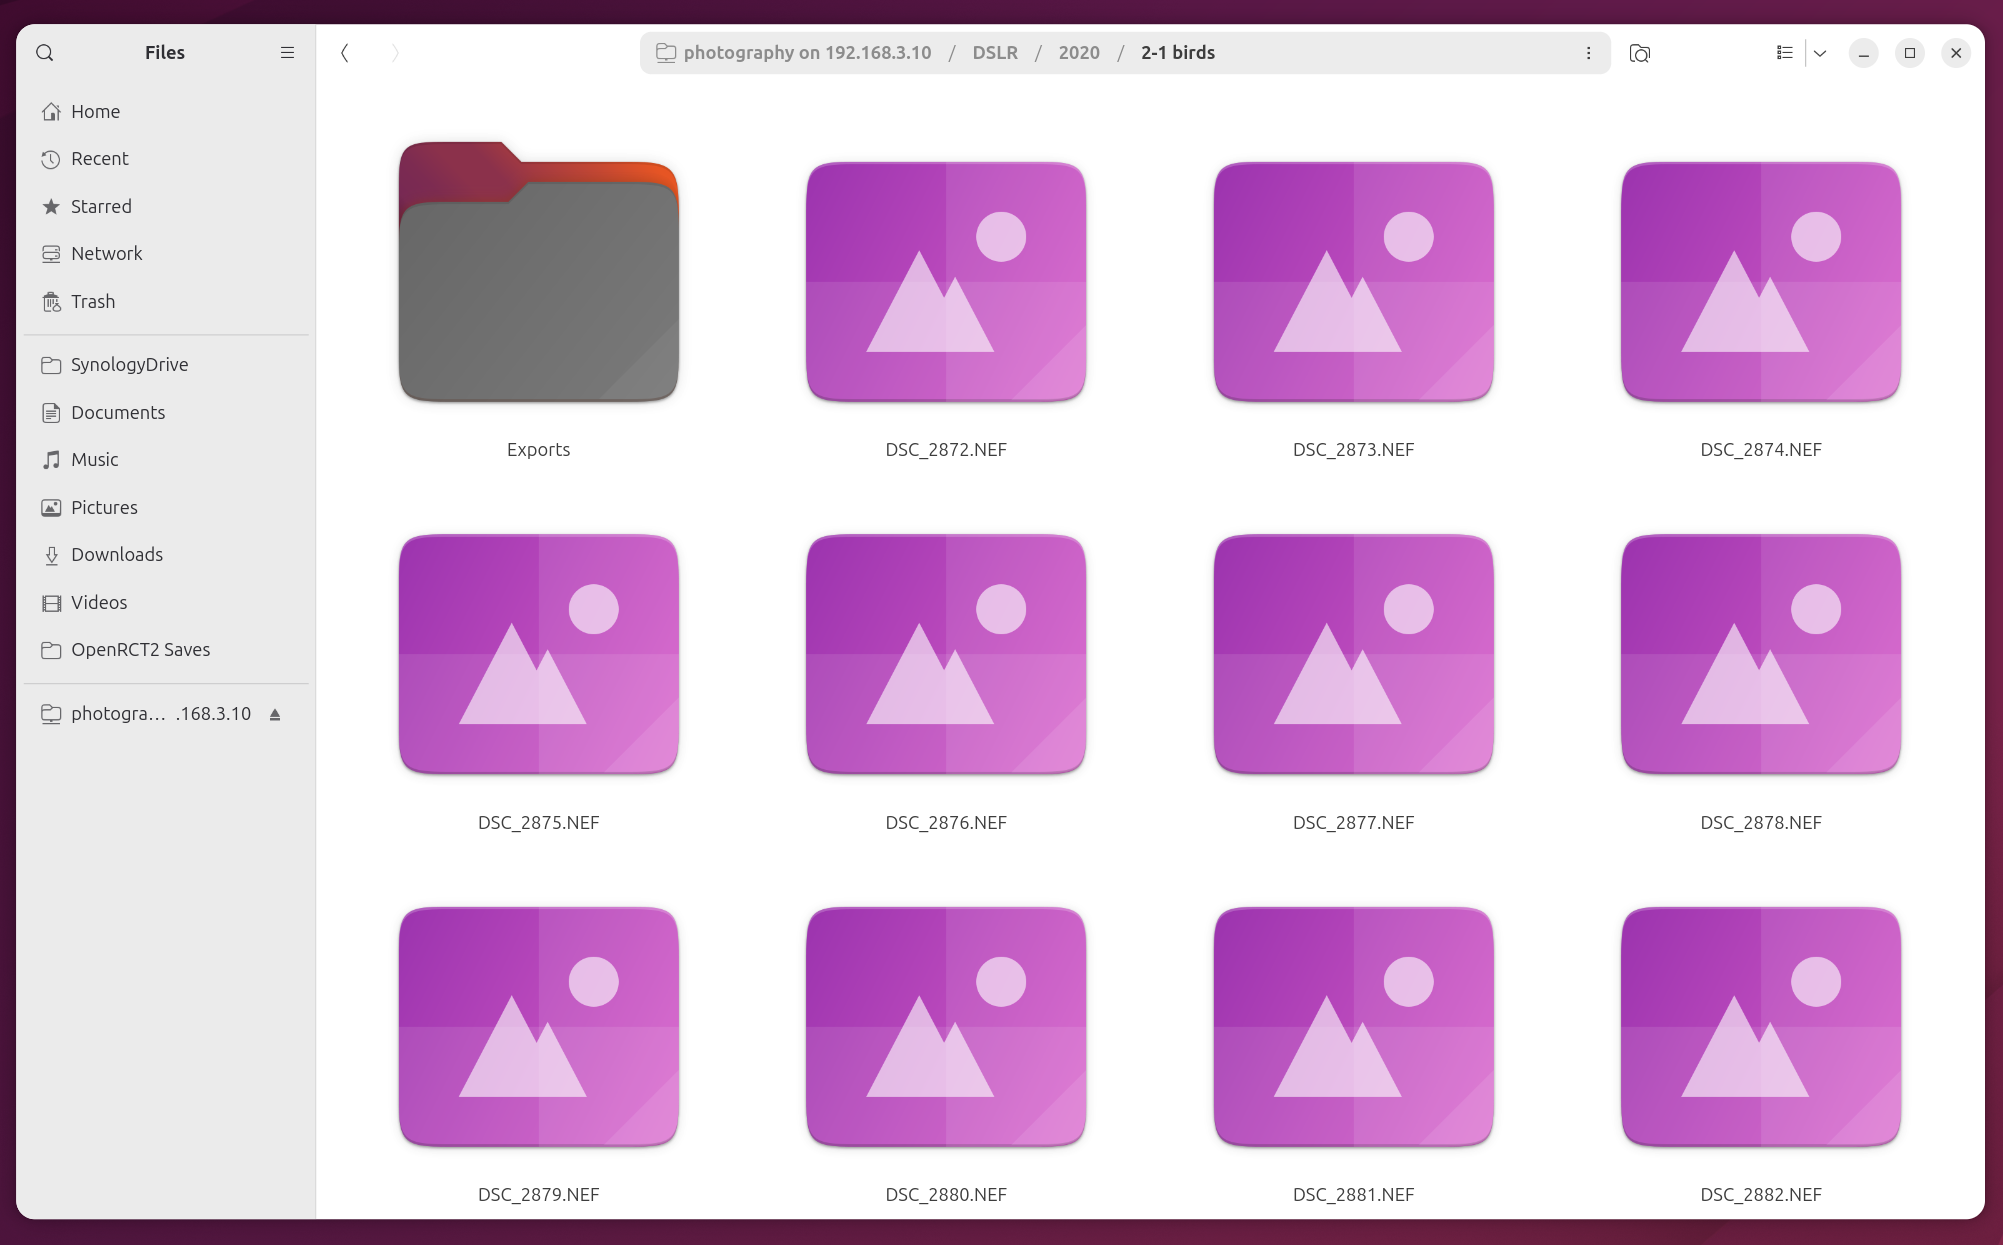
If you follow that or a similar structure for your files, you can have Immich do the rest of the legwork automagically. Let's get in to it.
First things first, on an Ubuntu instance you'll need Docker. Install that with their instructions here:

After that, while still working on your Ubuntu machine, you'll need to mount the network share with your images with the following steps and commands.
Create a local directory and install dependencies
First off, make a new folder on the server:
sudo mkdir /mnt/nas
Install the SMB share client utilities:
sudo apt install cifs-utils
Make an initial mount to the SMB share with the photos. I use:sudo mount -t cifs -o user=sam //192.168.3.10/photography /mnt/nas
Add network share credentials
The above mount point above is only temporary and will not persist after a reboot. To permanently mount the directory, a line must be added to /etc/fstab. First, create a file with credentials for the SMB share on the NAS as shown below.
sudo nano .smb
Inside this ".smb" file enter your username and password for the user on the NAS that has at least read permissions to your images in the following format:
username=smbuserpassword=smbpassword
Exit and Save the changes to that file.
Add an fstab entry to make the mount persistent
Then run sudo nano /etc/fstab and add the following where the IP address to the share matches your setup (192.168.3.10 in my case), and them same for your username on your server:
//192.168.3.10/photography /mnt/nas cifs uid=0,credentials=/home/sam/.smb,iocharset=utf8,vers=3.0,noperm 0 0
We're doing great.
Now install Immich with their official documentation:
The only thing you'll need to deviate from the Immich documentation is adding a single extra line to the docker-compose.yml file for the file share.
You'll need to make sure you add the following line in the "volumes" section of the docker-compose.yml file:
- /mnt/nas:mnt/nas:ro
It should look like this:
name: immich

services:
  immich-server:
    container_name: immich_server
    image: ghcr.io/immich-app/immich-server:${IMMICH_VERSION:-release}
    volumes:
      - ${UPLOAD_LOCATION}:/usr/src/app/upload
      - /mnt/nas:/mnt/nas:ro
      - /etc/localtime:/etc/localtime:ro
This is the modified top section of the docker-compose.yml file to add the remote network share. Don't forget to include the rest of the default configuration yml provided by Immich!
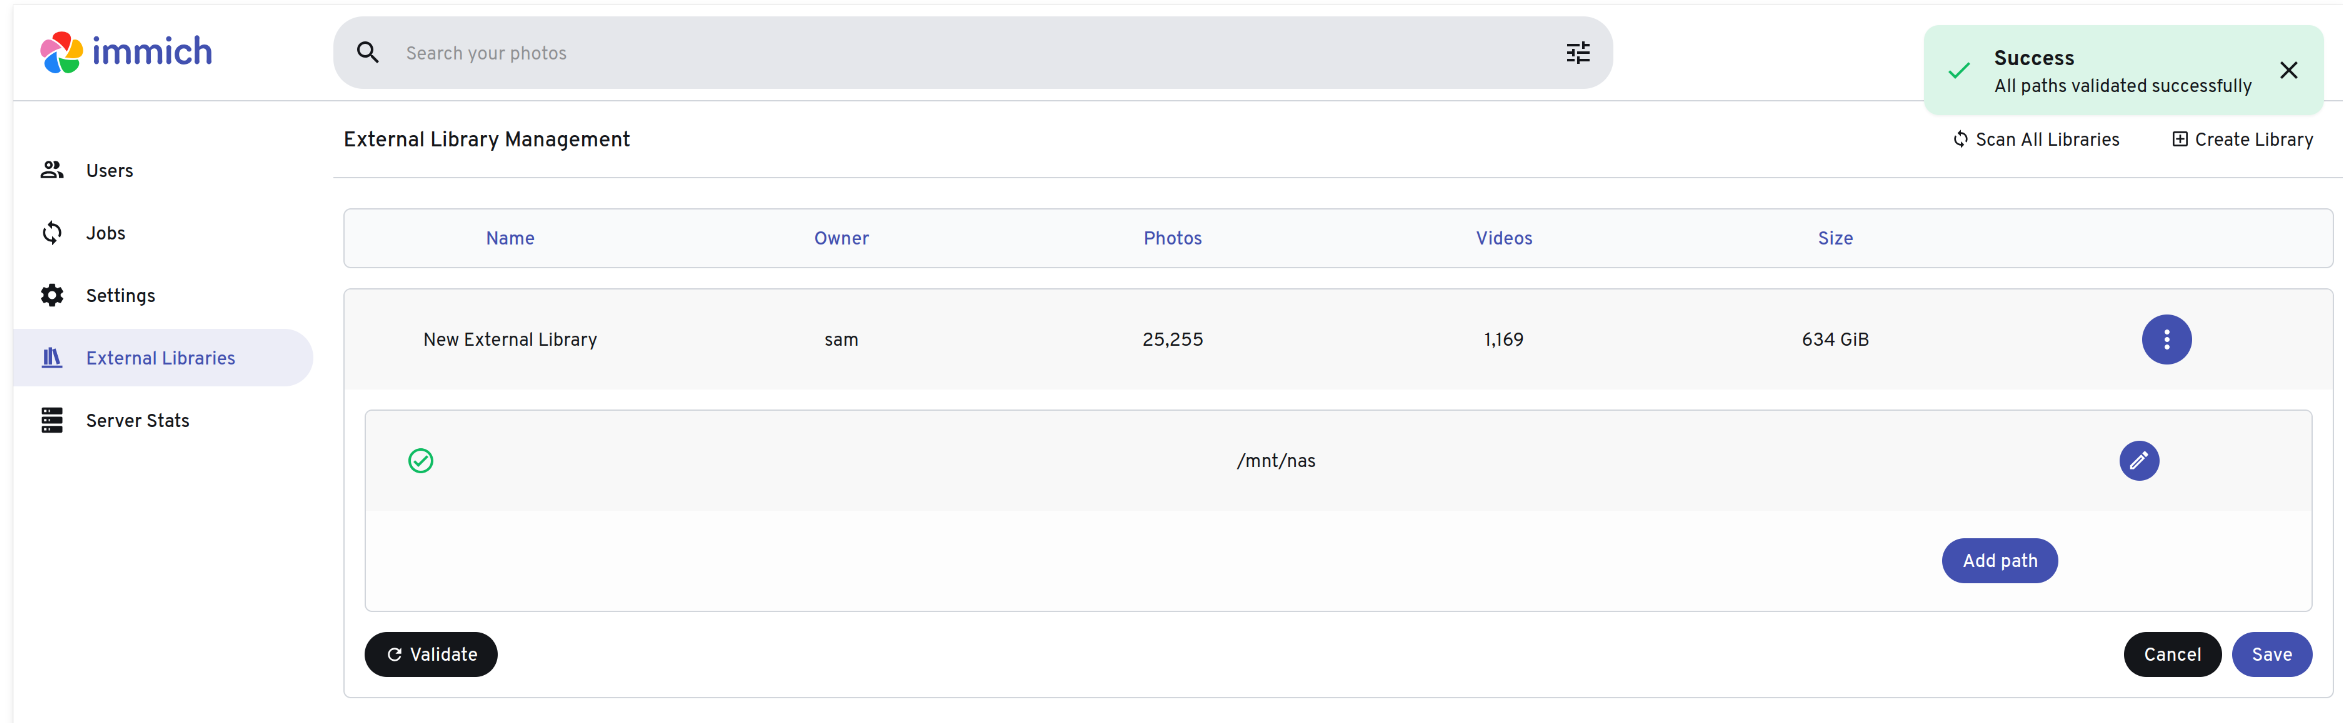
Start up Immich, go through the initial onboarding, then visit the External Libraries page.
Here you can simply add /mnt/nas as an External Library, and when you click "Validate" it should give you a green check mark to communicate it's found your network share.
And here's where we get to the good part.
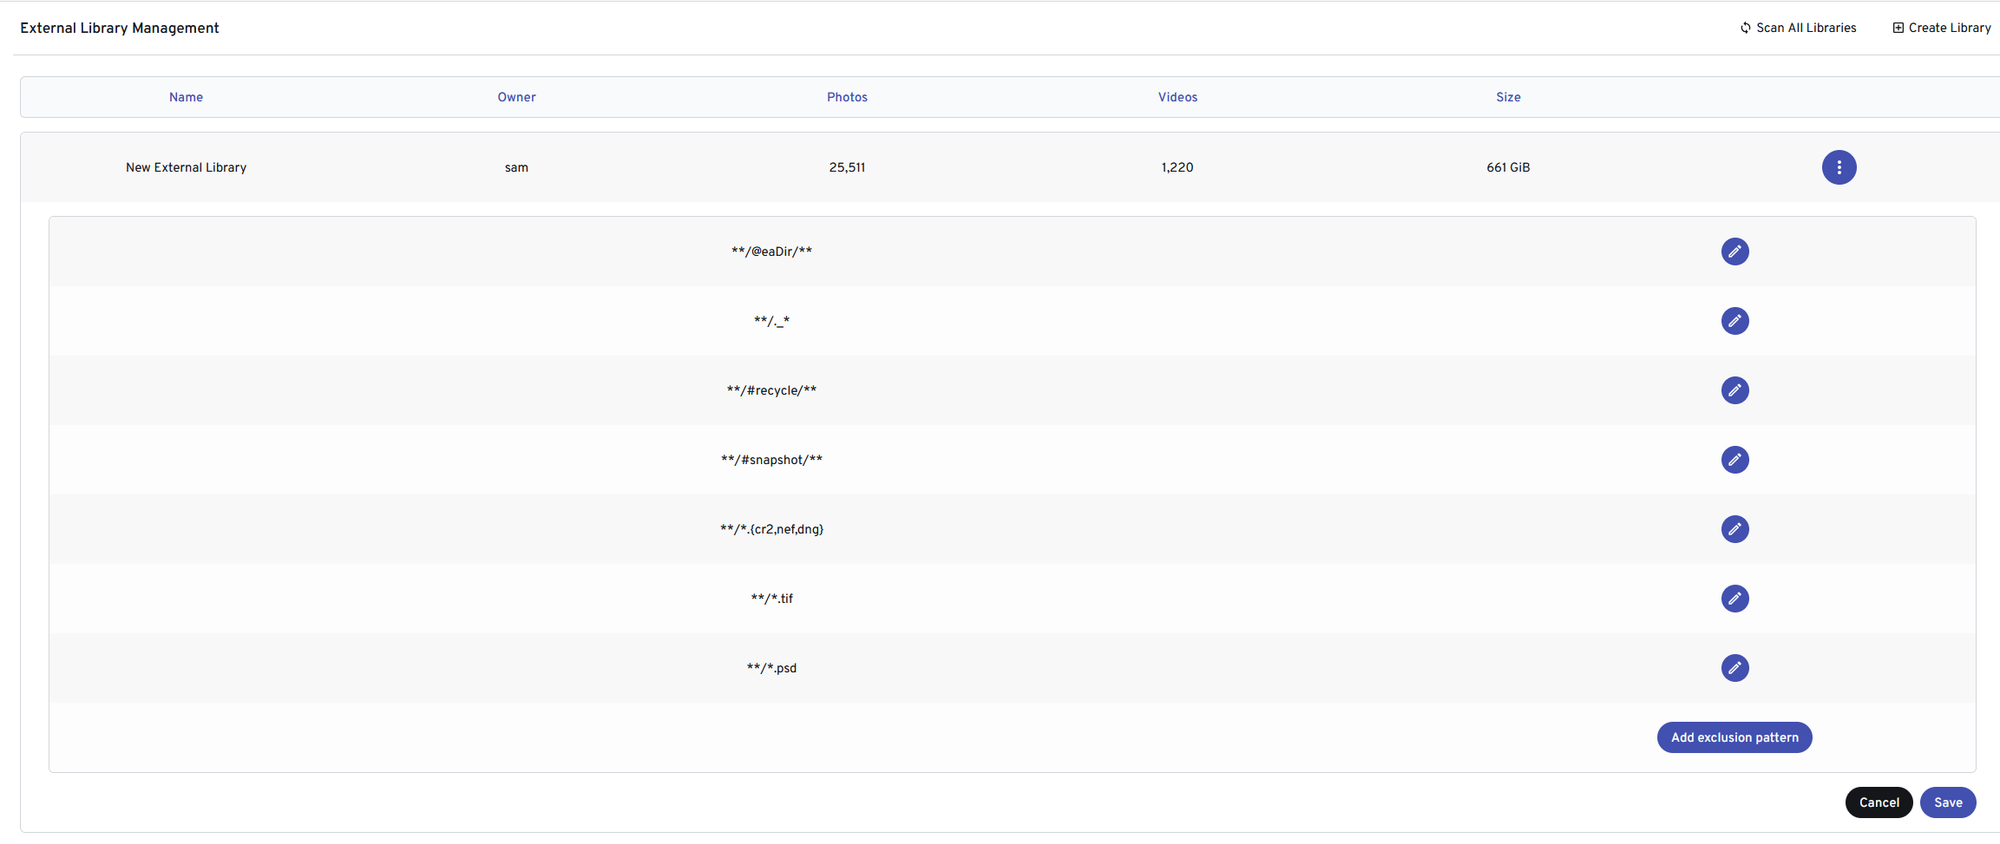
In the Immich settings, you can exclude certain file types. The way I do this is excluding every raw file type. Basically all image formats that aren't .jpg/.jpeg, the format I export in.
My Exclusions List
**/@eaDir/**
**/._*
**/#recycle/**
**/#snapshot/**
**/*.{cr2,nef,dng}
**/*.tif
**/*.psd
After that, set up periodic scanning with their instructions here and you're off to the races.

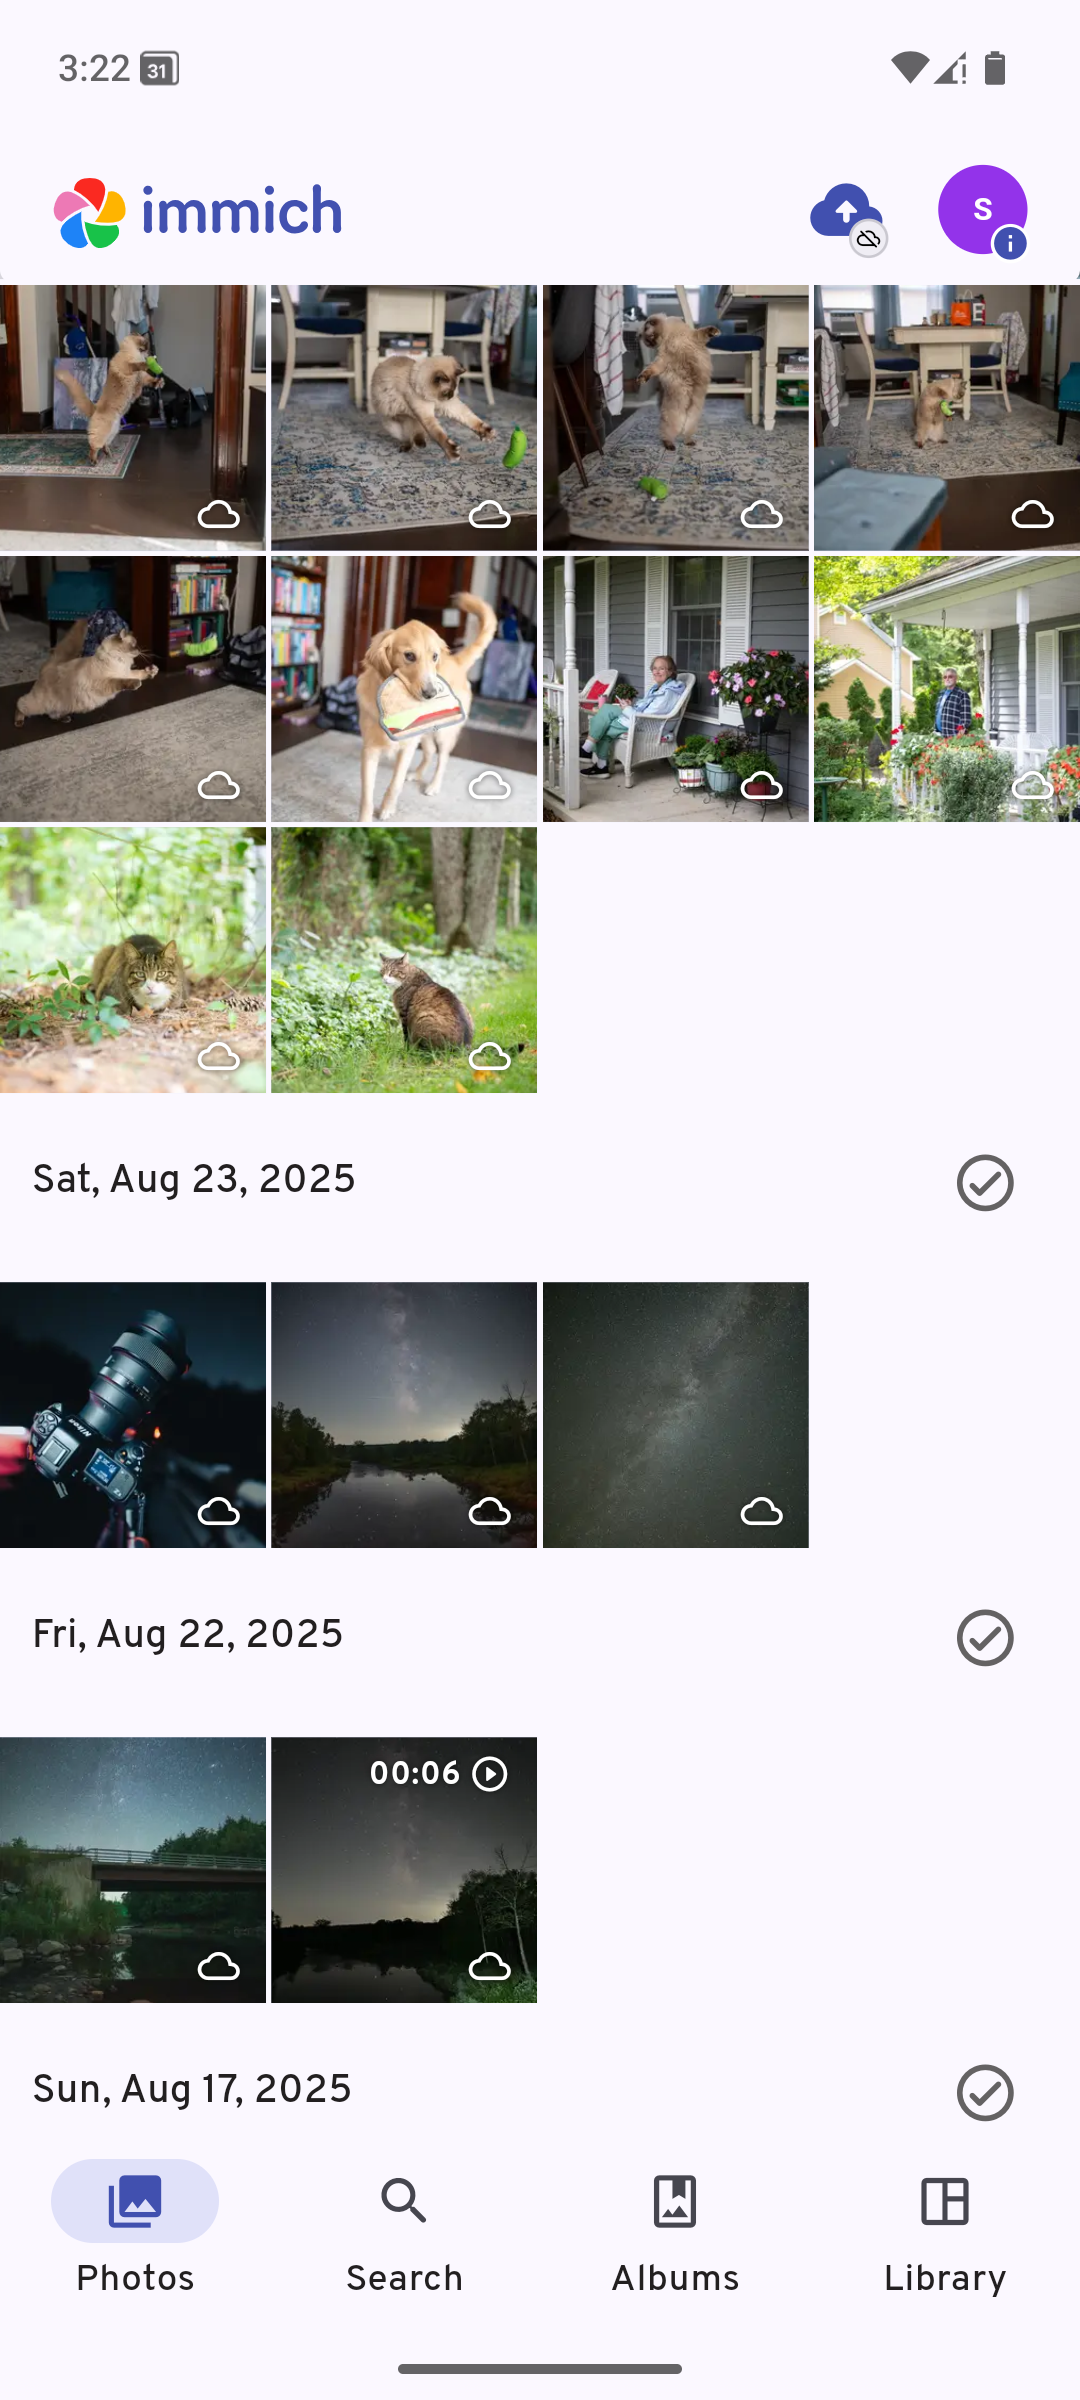
With this configuration, scan the external library once manually and you're good to go. You should see the timeline start to build, and your images start to populate. This could take some time depending on a plethora of factors.
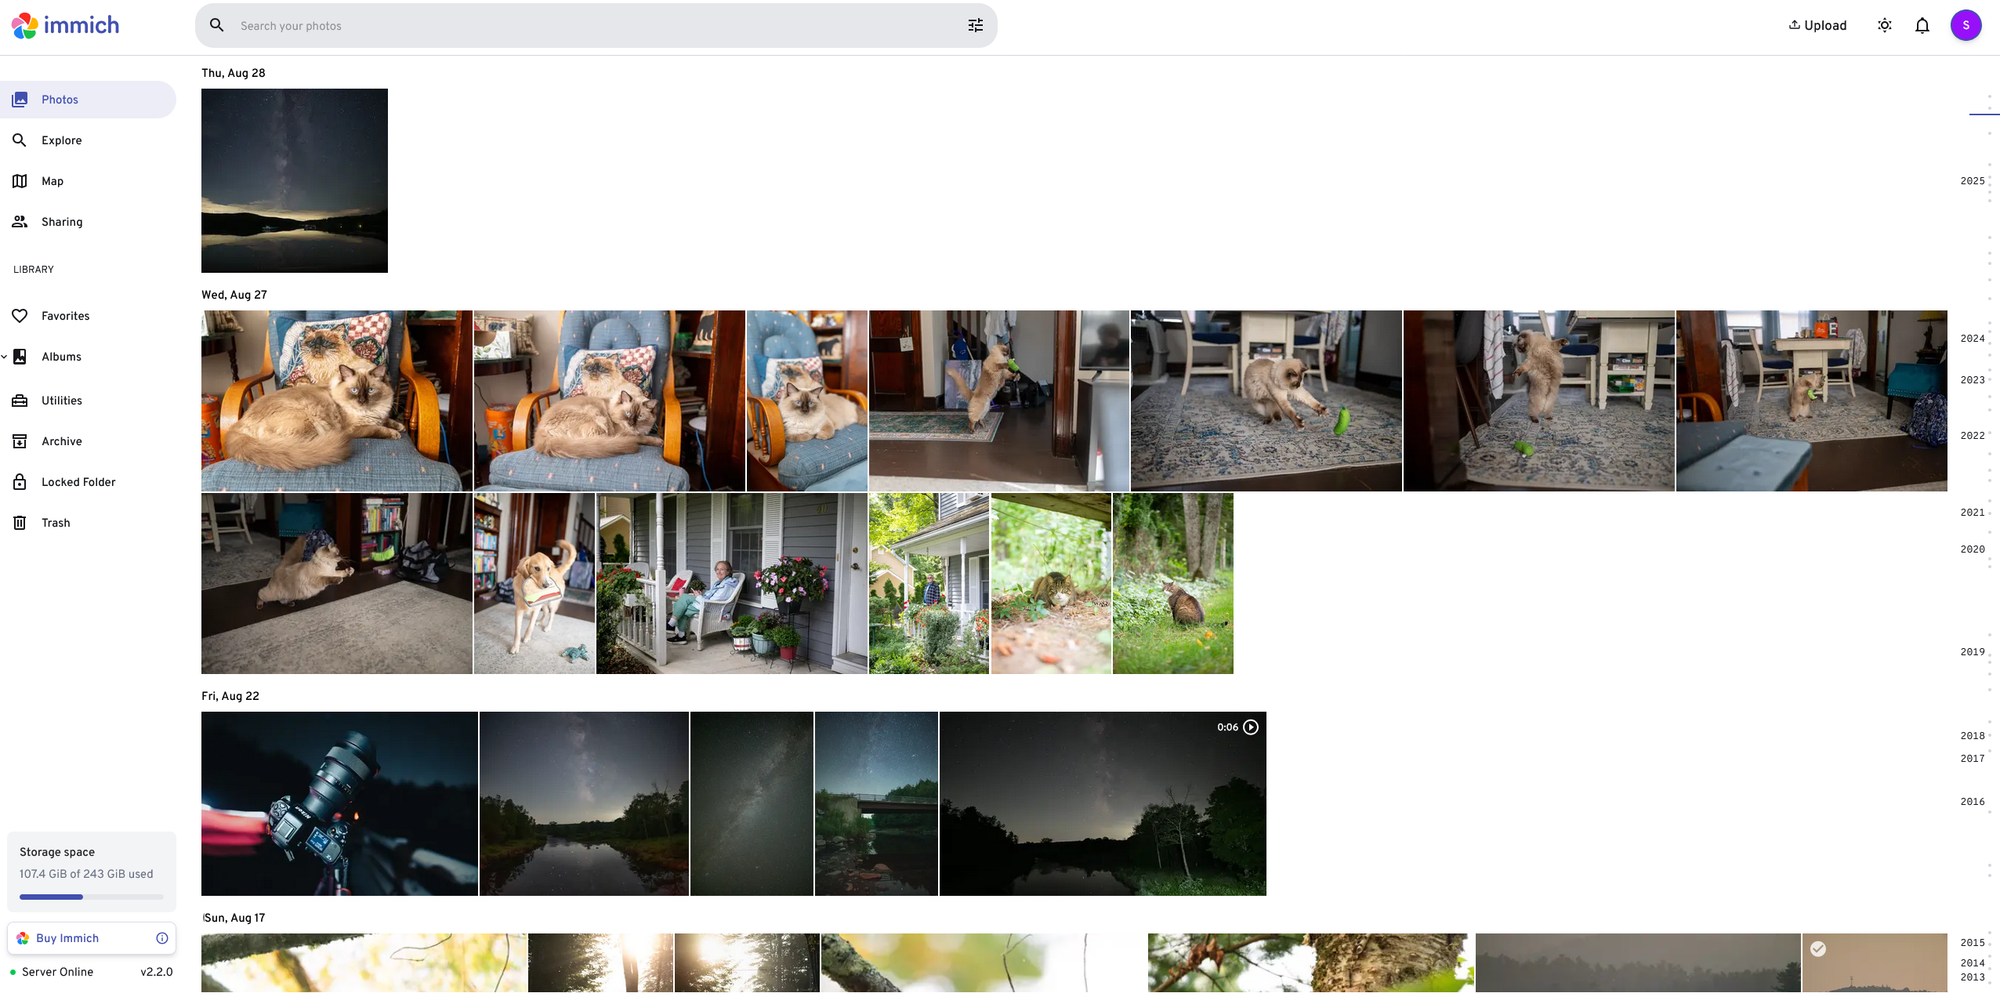
Here's what it looks like when there are new images found:
And there you have it!
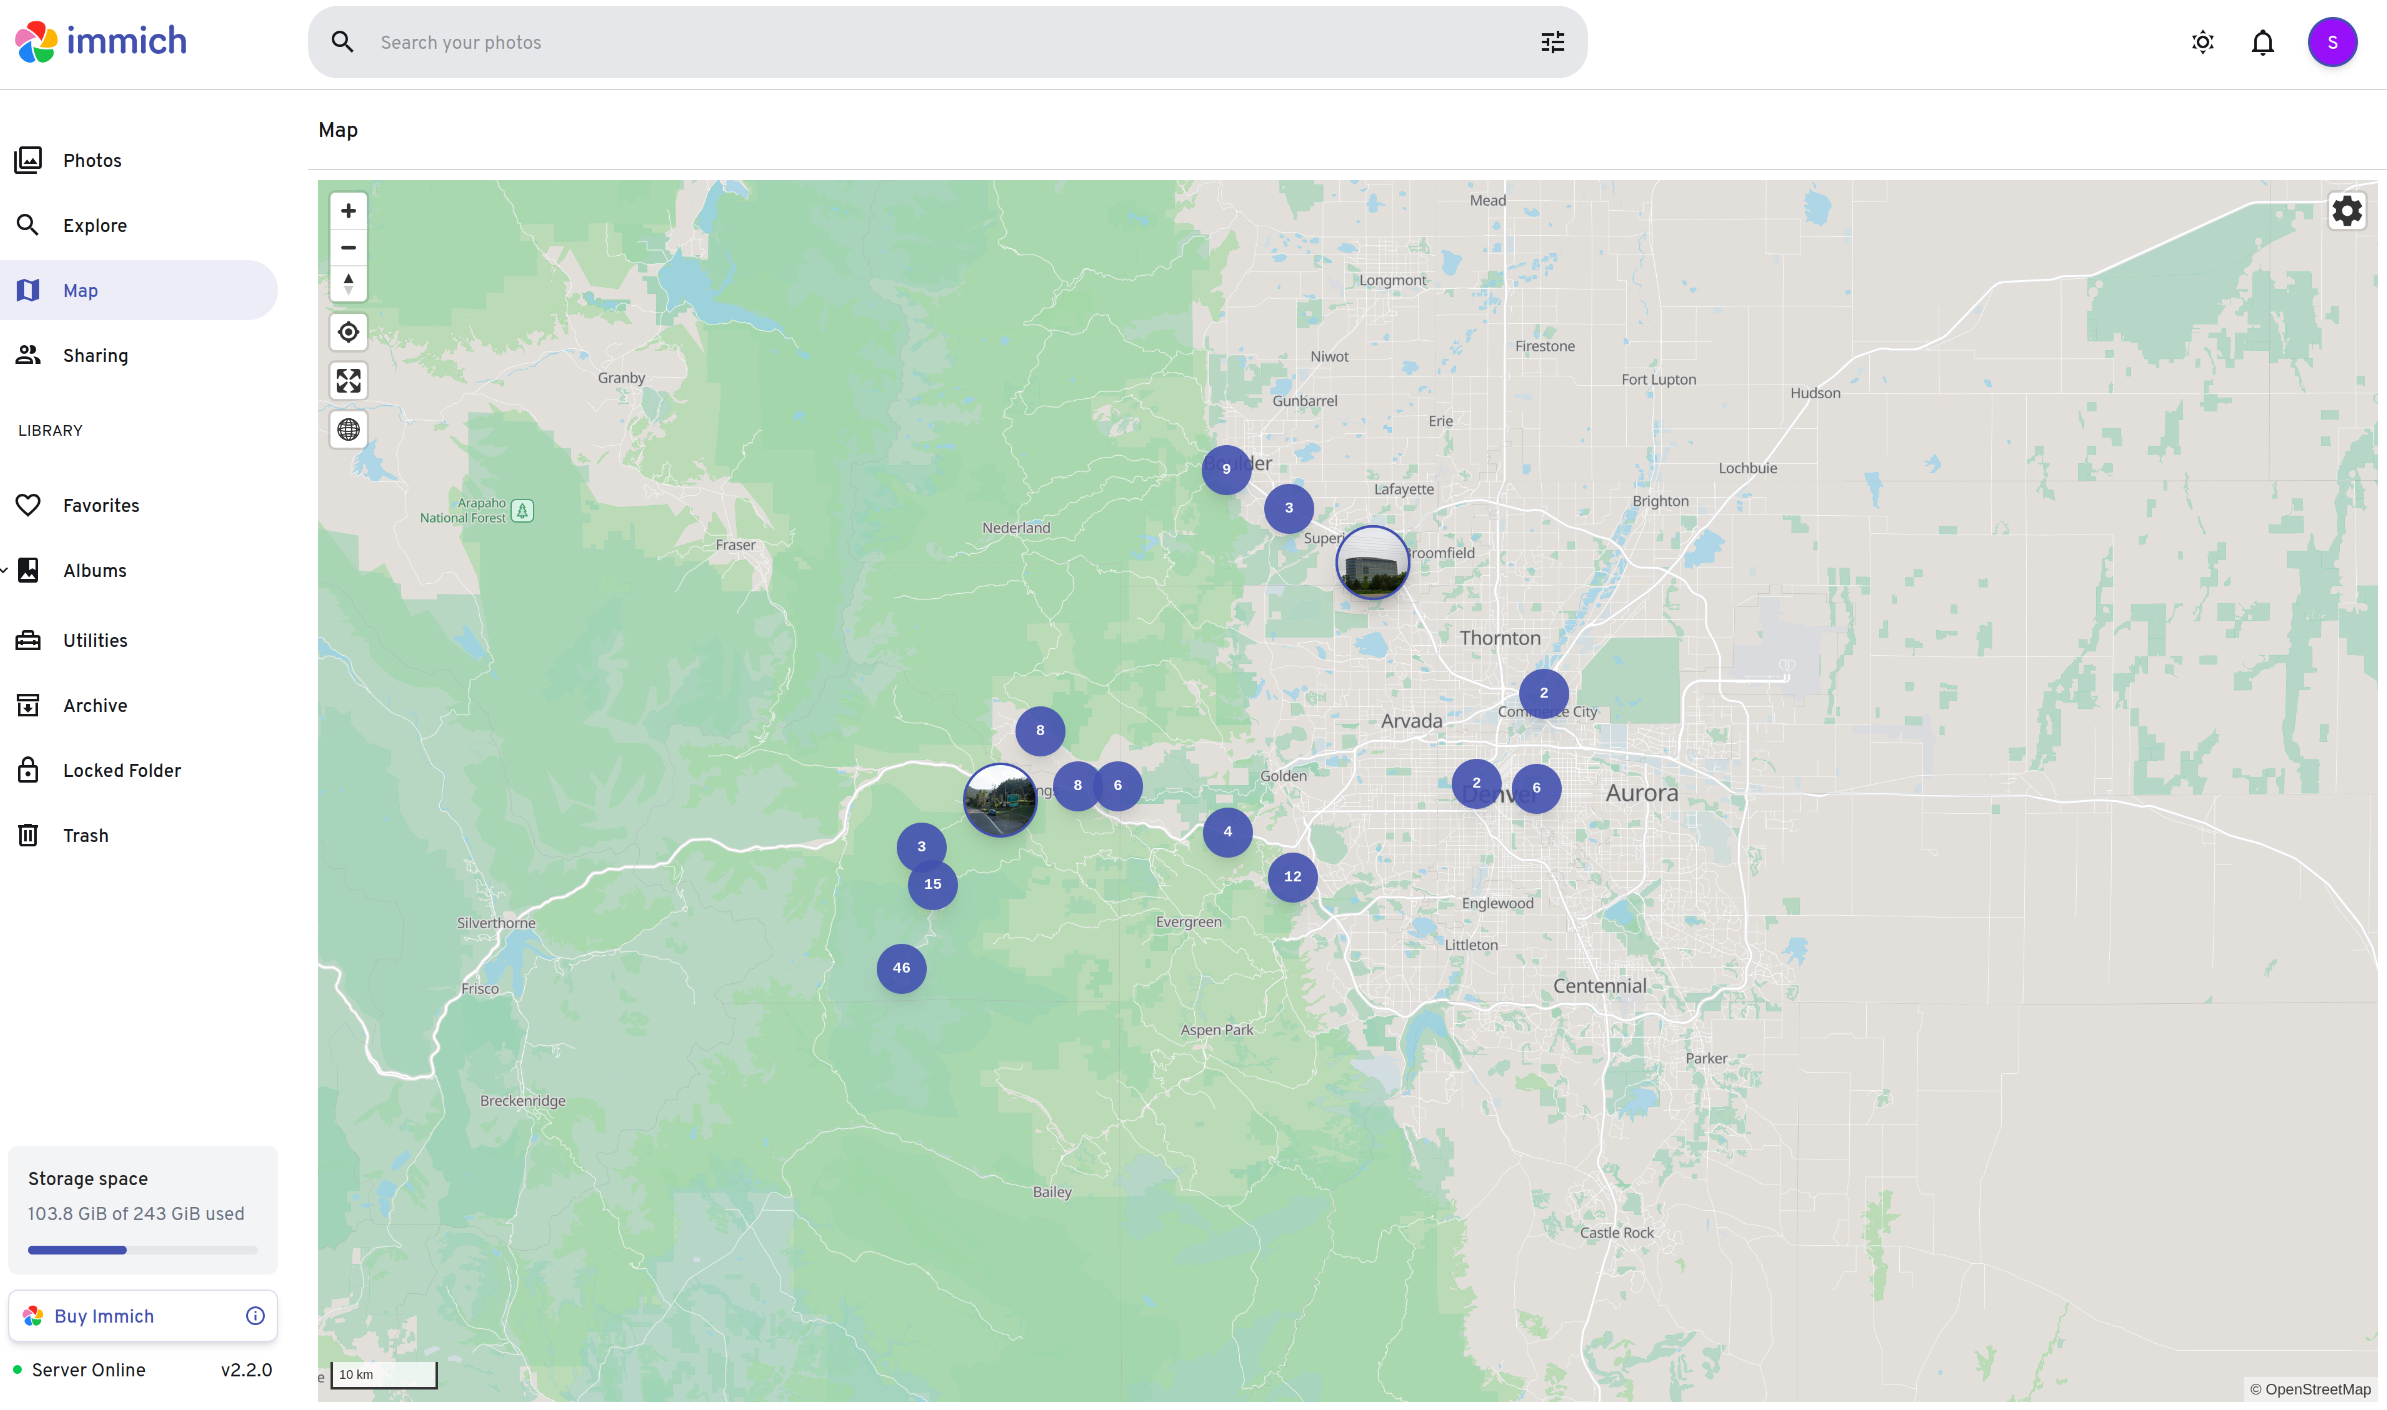
From there you can tag your photos, use facial recognition, view your pictures on a map, and search them with machine learning.
While this project is free, what the Immich developers have done here is amazing, and if you get value from it, you should support them.

If you want to remotely access Immich from your mobile device while you're not on the same network as your Immich server, Tailscale is a great choice described here.

If you're looking to enable sharing your Immich server out to family or friends, this could be a good option: